FlexRak Installation
Boating, Totes, Sports Gear, Tools; You Name It, We Organize It!
Retail Displays, Garage, & Even Inside Your Home
STEP 1 – Prep Your Wall
1.a – Find The Studs In Your Wall
Using a Stud Finder, find the edges and mark the center of each stud near the top of the general area of the wall where you intend to install your panels.

1.b – Layout Desired Panel Placement
Determine the exact area where your panels will be installed and then mark the top, bottom, left, and right of your install area.
Helpful Tip: Consider wall stud locations when deciding on left-to-right panel placement.

1.c – Draw A Leveled Line
Measure down from the top of the install area 5¼ inches down and draw a mark indicating where the top of the upper wall cleat will be. Using a level (ensure the bubble is in the middle), extend your mark all the way through the install area.

STEP 2 – Prep Your Cleat
2.a – Mark the Cleat
Place the cleat on the wall (channel opening upward) with the top edge along your level line. Using a Black Marker, mark the cleat to match the stud center marks on the wall.

2.b – Replicate Cleat Markings
Transfer the marks from the cleat in the previous step, to any other lower cleats to be screwed to the same studs.

2.c – Pre-Drill the Cleat
Using a 3/16” (5mm) drill bit, drill holes through the cleat at each of your marks along the top and bottom v-grooves.

STEP 3 – Attach Cleat To The Wall
3.a – Install the Upper Cleat
Place the upper cleat (channel opening upward) with the top edge touching the level line on your wall. Using a drill or driver with a #2 Phillips driver bit, screw the cleat directly to the studs on the wall.
Helpful Tip: Place screws where the cleat touches the wall first. Then using a shim, fill any gaps between the cleat and the wall to ensure the cleat remains flat.

3.b – Install Lower Cleat
Hang a FlexRak Install Jig on each end of your upper wall cleat. Determine which slot on the jig will align with the next cleat on your panels. Place the next wall cleat into the appropriate Jig slot (channel opening upward), and screw the cleat directly to the studs on the wall, shimming where necessary.

Challenges
Shim Crooked Walls
If the wall is crooked, place screws where the cleat touches the wall first. Then using a shim, fill any gaps between the cleat and the wall to ensure the cleat remains flat.

Cleat Ends Between Two Studs
If the end of your Cleat ends between two studs, you may use a drywall anchor to secure the cleat to the drywall. Avoid this where possible and place cleat ends at stud centers to ensure the most secure installation.

Concrete Wall, No Studs
If the end of your Cleat ends between two studs, you may use a drywall anchor to secure the cleat to the drywall. Avoid this where possible and place cleat ends at stud centers to ensure the most secure installation.

Cutting The Cleat To Length
If the Cleat is too long for your wall, any wood saw will cut the Aluminum Cleat. Cut it to the desired length.

Inside Your FlexRak Box

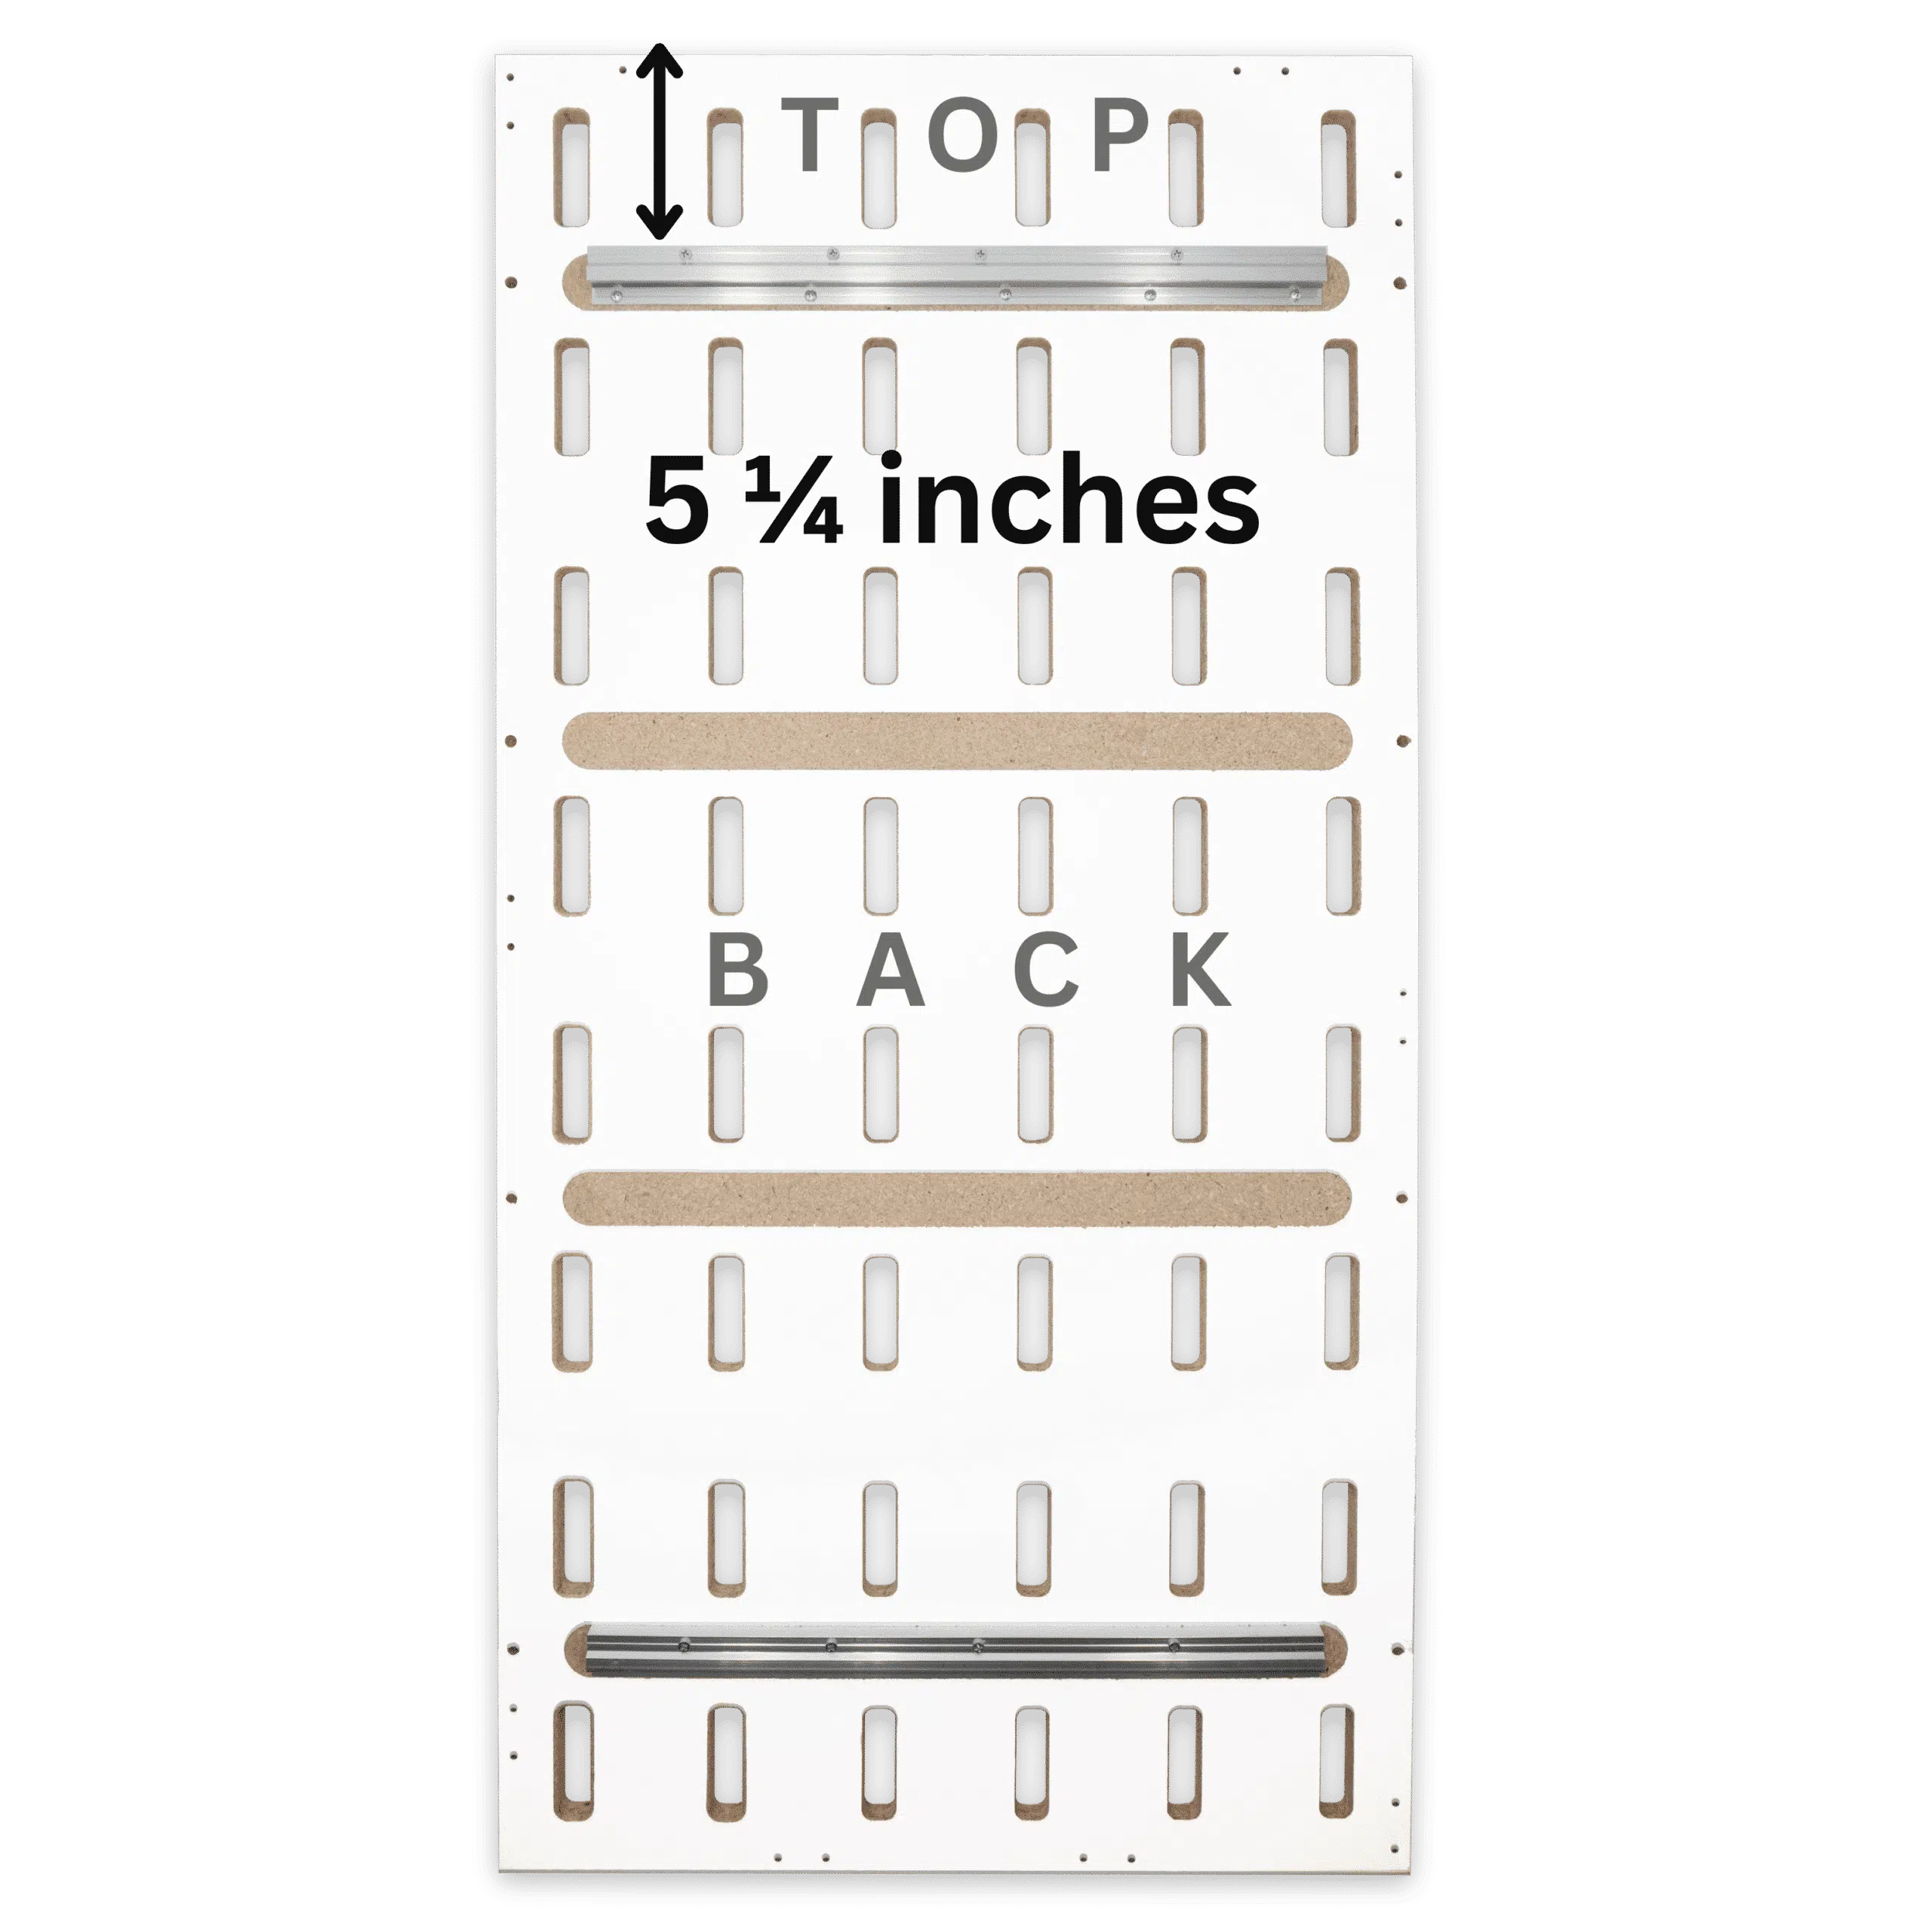
FlexRak Panels
w/ Attached Panel Cleats in Light Load Configuration
Top of the Panel to Top of the Cleat: 5¼ inches

Wall Cleats
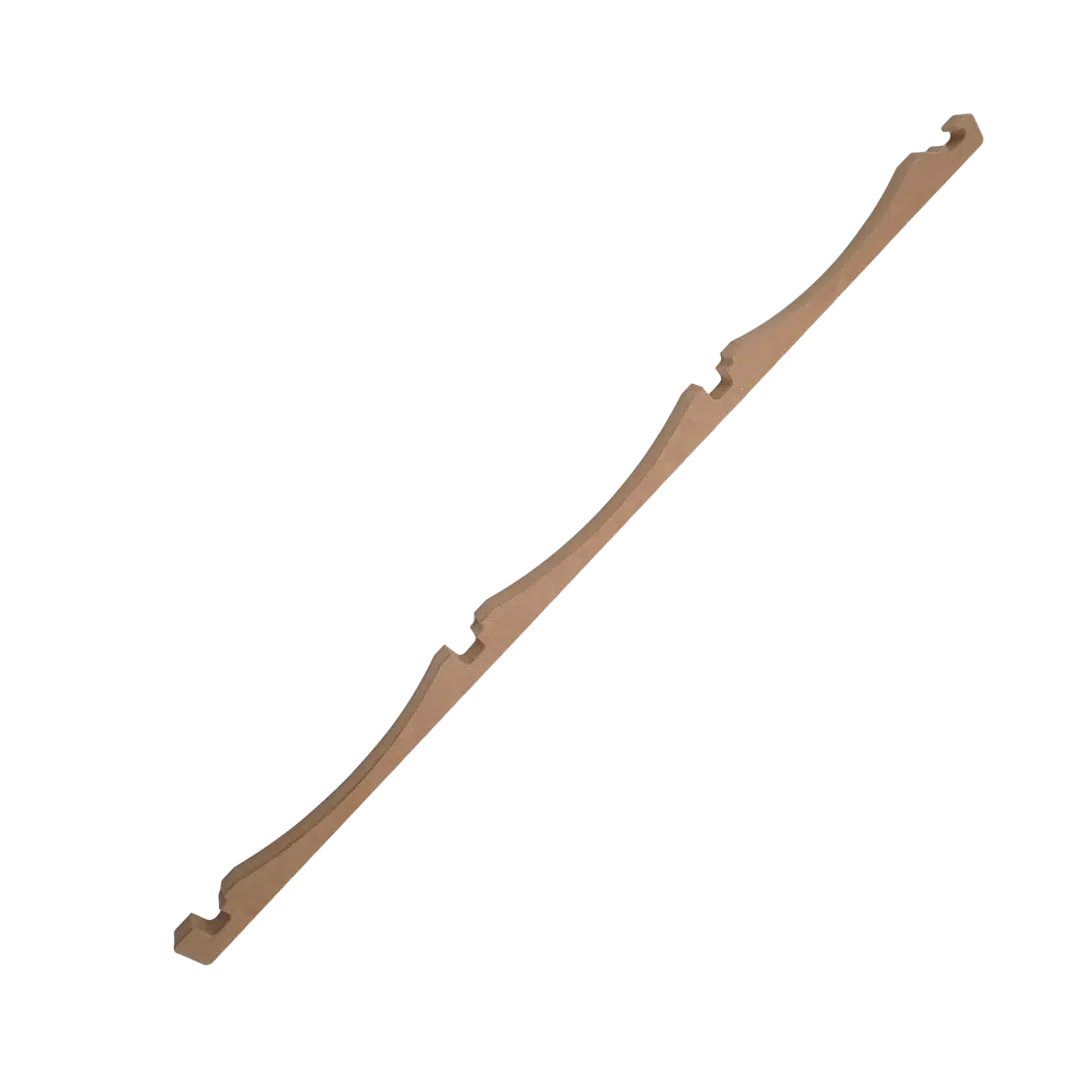
Install Jigs
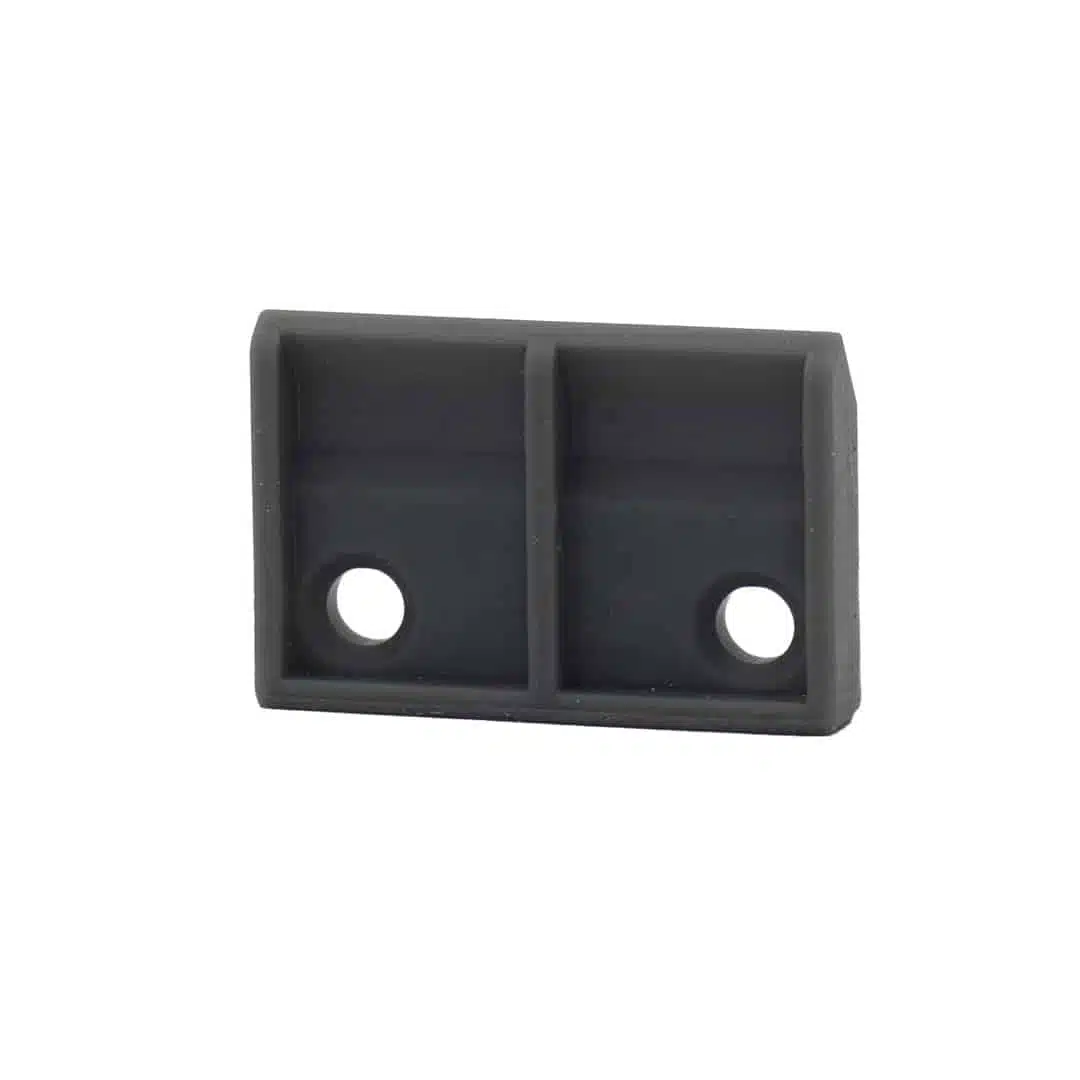
Panel Aligners

Wood Stud Screws

Euro Screws
Basic Tools Needed

Pencil/Marker
Tape Measure
Stud Finder
Level
Drill
Driver
3/16th Drill Bit

PH2 Driver Bit
Multi-Panel Wall Cleat Install
Multi-Panel Install Tools Needed
Mark Multiple Cleats

Square
Saw Blades For Wall Cleat

Circular Saw

Chop Saw
Electrical Switch / Outlet Panel Cutouts

Hole Saw Bit

Reciprocating Saw

Jigsaw

Circular Saw


